Last Updated on June 3, 2023
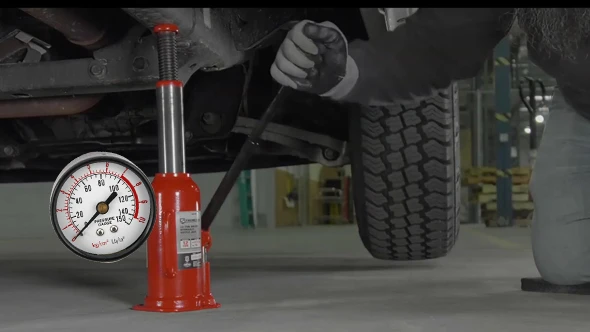
If you own an RV, you rely on your bottle jack to lift and support your RV. A pressure gauge can bring you peace of mind while using a bottle jack as it can help to keep an eye on the bottle jack’s capacity to lift and save you from overloading your tool.
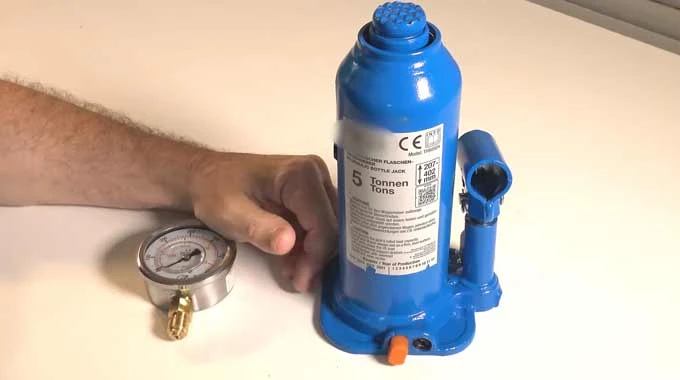
A bottle jack is a type of hydraulic jack that is often used in automotive applications. Their compact size and ease of use make them an attractive option. A bottle jack’s downside is that it does not come with a pressure gauge. This makes it hard to gauge how much pressure is being applied to the object.
Fortunately, it is possible to add a pressure gauge to a bottle jack relatively easily. Read on to learn how to add a pressure gauge to a bottle jack so you can complete this project in just a few minutes and use your bottle jack safely and securely.
How to Add a Pressure Gauge to a Bottle Jack: Simple Steps
1. Get the Right Tools:
In order to add a pressure gauge to a bottle jack, you will need a few tools. First, you will need a drill with a 3/16” drill bit. You will also need a 1/8″ NPT pressure gauge, 1/8″ NPT plug, Center punch, Hammer, Teflon tape, and a T-fitting. Finally, you will need a pressure gauge that is rated for at least 10,000 PSI.
2. Remove the Cap:
The bottle jack’s cap should be removed from the top of the device. If you take this step, you will be able to gain access to the internal workings of the jack.
3. Drill a Hole in the Side of the Bottle Jack:
Drilling a hole in the side of the bottle jack is an important step in adding a pressure gauge. The size of the hole will depend on the size of the T-fitting that will be used. A 3/16” drill bit should be sufficient for most applications.
4. Tap the Hole:
Once the hole has been drilled, use the 1/8” NPT tap to thread the hole. This will allow you to screw in the T-fitting. The T-fitting can be inserted and secured in place with a washer and nut. This will provide a secure connection for the pressure gauge.
5. Attach the Pressure Gauge:
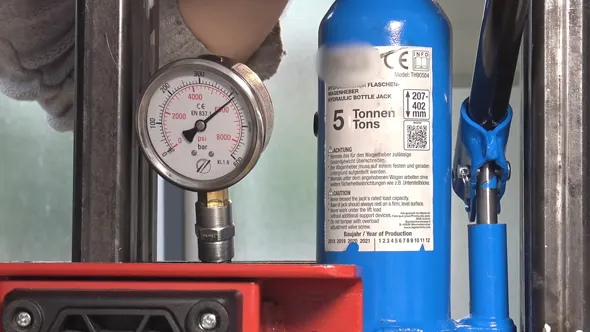
The pressure gauge should be inserted into the T-fitting by screwing one end into it. While using the jack, make sure that the gauge is pointing in a direction where it will be easy to read when you are using it.
6. Replace Cap:
The bottle jack cap should be replaced with a screw cap and tightened up tightly. Make sure that it is snug by tightening it with your hands. It is now all set for you to use your bottle jack with a pressure gauge.
7. Use Your New Pressure Gauge:
Bleed any air from the system by pumping the jack up and down until you see fluid coming out of the pressure gauge. Now you can use your bottle jack with confidence, knowing that you can monitor the pressure and prevent overloading.
Additional Tips and Advice:
- Pump the handle of the bottle jack until the pressure gauge reads the desired pressure. For most applications, you will want to pump it to about 60 psi.
- Use the bottle jack as normal, checking the pressure gauge periodically to make sure that the pressure has not dropped too low.
- When you are finished using the bottle jack, release the pressure by unscrewing the pressure gauge from the relief valve and letting all of the air out of the jack.
- Replace the cap on the bottle jack to keep dust and debris out of it when it is not in use.
- Store your bottle jack in a safe place, such as a garage or shed, where it will not be exposed to extreme temperatures or moisture.
Why Do I Need to Add a Pressure Gauge to a Bottle Jack?
A pressure gauge is an important safety feature on a bottle jack. It allows you to see exactly how much pressure is being exerted on the object being lifted, which can help to prevent accidents.
The pressure gauge also allows you to release the pressure gradually, which can be helpful when lowering a heavy object. If the pressure is released too quickly, the object could fall and potentially injure someone.
Do All Bottle Jacks Support Pressure Gauge?
Most bottle jacks are capable of supporting a pressure gauge. However, it may depend on individual models and brands whether a pressure gauge is included or compatible. It is always recommended to check the user manual or specifications before purchasing a bottle jack if a pressure gauge is a necessary feature.
After extensive research, our blog has compiled a list of the best bottle jacks for lifted trucks that support a pressure gauge. These jacks provide ease and convenience in use and offer durability and efficiency in lifting heavy vehicles.
What Are The Types of Pressure Gauges that can be added to a Bottle Jack?
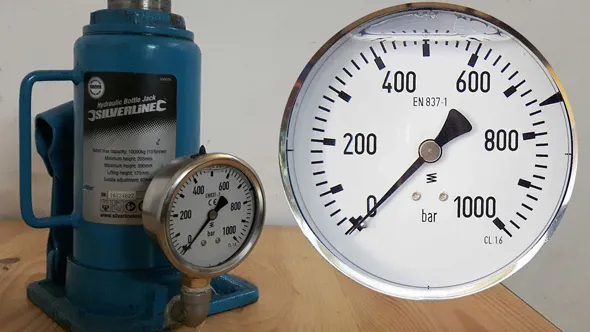
There are two types of pressure gauges that can be used with a bottle jack: analog and digital. Analog gauges are the more traditional type and typically use a needle to indicate the level of pressure.
Digital gauges are becoming more common, and they tend to be more accurate than analog gauges. Regardless of the type of gauge you choose, be sure to check it regularly to ensure that it is working correctly.
How Much Pressure Can a Bottle Jack Take?
The capacity of a bottle jack is measured in tons, and the most common sizes range from 2-ton to 10-ton jacks. The maximum pressure that a bottle jack can handle depends on its size and design.
Most jacks have a maximum pressure of around 10,000 pounds per square inch (psi). However, some high-capacity jacks can handle pressures of up to 15,000 psi.
Can You Lay a Bottle Jack on its Side Without Damaging the Pressure Gauge?
The pressure gauge is located on the side of the jack, so if you were to lay the jack on its side, the pressure gauge would be pointing up. You would not be able to tell what the pressure was without looking at the gauge, so it’s best to avoid laying the jack on its side if possible.
Even so, if you do need to tilt the jack, it will not damage the pressure gauge as long as you are careful not to put any pressure on it.
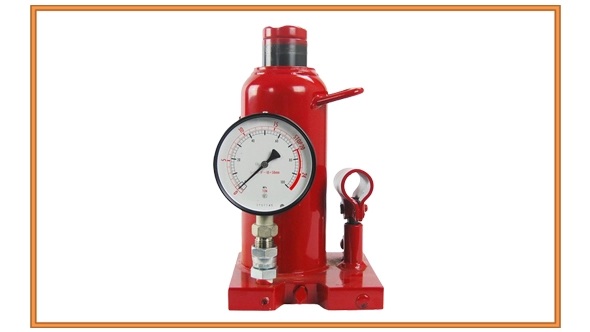
Where Do you Connect a Pressure Gauge in a Bottle Jack?
There are two ways of connecting the pressure gauge. The first procedure involves screwing the pressure gauge on the release valve of the bottle jack. The second way is to screw the pressure gauge into the fill valve of the bottle jack.
If you are using a pump to fill the bottle jack, you will need to use an adapter in order to connect the pressure gauge to the fill valve.
Do I Need To Check Hydraulic Oil Pressure in a Bottle Jack?
The short answer is yes, you should always check the oil pressure in your bottle jack before using it. There are a few reasons for this. The oil pressure in the jack determines how much force the jack can exert.
If the oil pressure is too low, the jack will be less powerful and may not be able to lift heavy loads. Checking the oil pressure ensures that there are no leaks in the system. If there is a leak, the oil pressure will drop, and the jack will become less effective.
Also, checking the oil pressure helps to prolong the life of your jack by ensuring that all of the parts are functioning properly. So, if you’re ever unsure about whether or not to check the hydraulic jack oil pressure, remember that it’s always better to be safe than sorry.
So, Let’s Add a Pressure Gauge to Your Bottle Jack Today
Adding a pressure gauge to your bottle jack is a simple process that can be completed in a matter of minutes. By adding a pressure gauge, you’ll be able to track the internal pressure of your jack and ensure that it doesn’t get too high.
It is best to consult your owner’s manual for specific instructions on how to add a pressure gauge to your particular bottle jack model. Follow these simple steps, and you’ll have your very own bottle jack with a pressure gauge.
