Last Updated on March 19, 2023
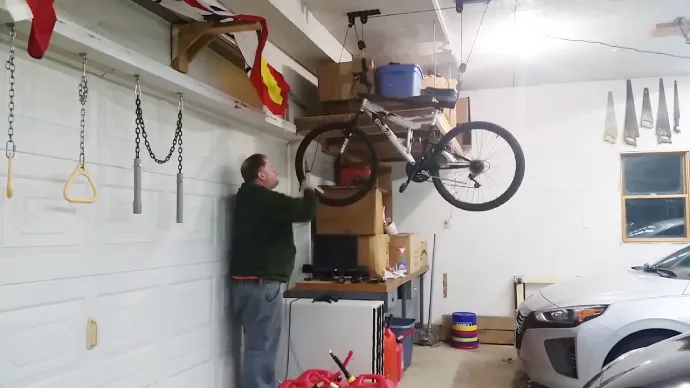
Are you an avid cyclist looking for a way to store your bikes when not in use? Or do you want to free up some floor space in your garage? Installing a ceiling bike lift is one of the best solutions. It saves precious space and makes storing your bicycles easier, but it also looks great.
Installing a ceiling lift is not only easy but can be done quickly with the proper materials. This article will provide all the steps necessary to get your ceiling rack ready and considerations that should be taken into account when weighing whether this solution best fits your needs.
From assembling the components, installing the mounting board and main bracket, and finally attaching your bicycles, we will discuss all of these steps in detail.
So let’s start installing your ceiling bike lift so that you can better use your home space.
How to Install Ceiling Bike Lift: Steps to Follow
Keeping your bike safe and secure is a breeze with the help of an awesome ceiling bike lift. But it won’t work unless you assemble and install it properly. Here’s how. Follow these steps to guarantee that your wheeled companion will remain safely suspended from above.
Gathering Necessary Materials:
- Ceiling bike lift kit
- Drill with a masonry bit and Phillips-head screwdriver bit
- Stud finder and level
- Spackling Compound
- Tape measure, hammer, screwdriver and pliers
- Safety glasses, dust mask, and work gloves (recommended)
- Step ladder (optional)
Step 1: Prepare the Area
Before you start assembling your bike lift, make sure you have the correct measurements of where it will be installed. Measure 15-16 inches from the wall where you want to hang the lift and mark that as your starting point.
You’ll need a bit more space than that for installation purposes, so ensure there are no obstacles in that area, like furniture or other objects. If there are any light fixtures or other obstructions near the installation location, be sure to remove them before proceeding with the installation.
Step 2: Assemble the Lift Components
Once you’ve prepared the area, it’s time to start assembling the lift components. Before starting the installation process, read through all the instructions carefully and understand what each component does and how they all work together.
Take out all of the parts from their packaging and lay them out on a flat surface or table for easy reference. Don’t forget to gather all the tools you’ll need, including an electric drill, a screwdriver, a hammer, a measuring tape, a level, pliers, and a ladder.
Dust masks, gloves, and eye protection are also recommended.
Step 3: Install the Mounting Board
Put some spackling compound on the nail holes in the wall or ceiling where you’re mounting the board, so they don’t interfere with installation. Now take note of the total width of both handlebars from end to end. Divide this number by two and then add two more inches for safety measures.
This figure should be equal to the distance between the wall/ceiling surface and the center of the mounting board when measured horizontally. Once you have determined this correct measurement, drill screws or anchors into the surface and attach a mounting board via screws or nails.
Alternatively, use spackling compound if preferred due to personal preference or lack of tools necessary for drilling & attachment method via screws/anchors mentioned earlier.
Step 4: Install the Main Bracket
Now it’s time to install the main bracket against the ceiling joist closest to where you want to hang your bicycle. Start by locating the two nearest ceiling joists using a stud finder. Place one of the main brackets against one of them and use a level to ensure it is straight before marking its placement with a pencil or marker.
Drill pilot holes for screws, then gradually increase the size until each screw fits snugly into the joists. It’s recommended that these lag screws are spaced 45 to 48 inches apart, so measure accurately and secure tightly with a wrench.
Note: Use at least 8 to 10 wood screws about 2 inches long to attach this rear lift bracket securely.
Step 5: Attach Chain Pulley System
Attach chain pulley system, thread long chain through main bracket hole until it comes most of way out another side. Then wrap the chain around the bottom pulley wheel several times. Tighten the bolt at the end with a wrench or Allen key, depending on the hardware used for the installation process.
Do the same thing for the middle and top pulley wheels before testing the system out by lifting up the bicycle by hand off the ground slightly. If it hangs without issue, then proceed to the next step.
Step 6: Attach Bicycles
Attach bicycles to brackets by placing seat backrests on one bracket first and front handlebars on the other bracket. Ensure both are snugly attached before testing out the ceiling mount bike lift functionality.
Using the hand crank mechanism near the bottom pulley wheel to raise and lower the bike a few times (some models don’t have hand cranks but are still functional).
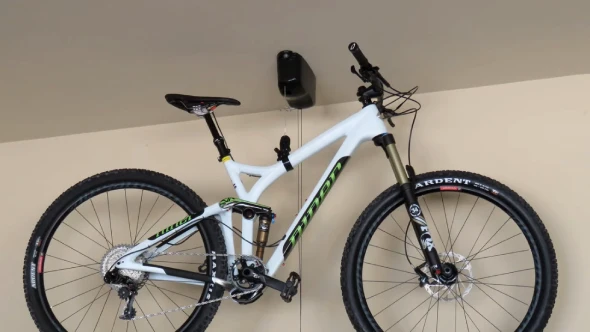
Is It Safe to Hang A Bike From the Ceiling?
Hanging your bicycle from the ceiling is a great way to store it safely and securely. It’s essential to make sure that whatever hooks or anchors you use are rated for the weight of your mountain bike and that they are firmly attached to a sturdier structure like joists or beams.
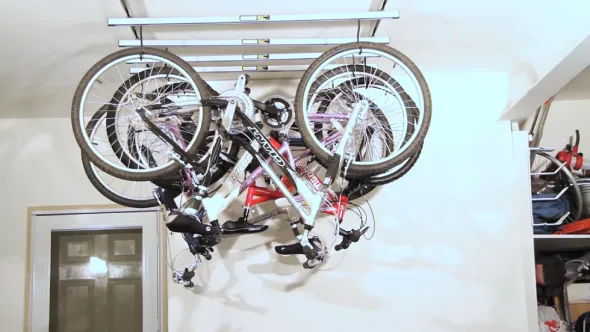
For added support, consider hanging multiple bikes in one area but make sure you can leave enough distance between each bike hook to avoid entanglement. Aside from that, ensure all the hardware holding up your electric bike is secure enough, so it doesn’t come crashing down.
All these steps together should ensure guaranteed safety for your beloved bike when suspending it in mid-air.
Considerations When Installing Ceiling Bike Lifts
If you’re looking to install a ceiling bike lift in your home or business, there are a few factors to consider. From the materials used to the installation process and design, here are some of the top things to keep in mind.
Weight Capacity: One of the most important factors when choosing a ceiling bike lift is its weight capacity. Make sure that the bicycle lift you select can handle your bicycle’s weight as well as any additional load you may need to support.
Mounting Method: Ceiling bike lifts come in two mounting styles. Permanent or non-permanent. Permanent applications require more time and expertise for professional installation but provide superior stability and security. It’s easy to install non-permanent models, but they don’t last as long as permanent ones.
Ceiling Strength: The first factor to consider when mounting a bike lift in your ceiling is the strength of your ceiling. Make sure that it’s strong enough to support the weight of both the bike and the lift itself. Otherwise, it could cause major structural damage or collapse entirely.
Design: Consider the aesthetics and practicality of your ceiling bike lift when making your selection. Some models have belt drives for quiet operation, retractable arms for easy bike storage, lockable mechanisms for added security, etc. So make sure to choose one that fits both your style and practical needs.
Installation Process: If you’re installing the system yourself rather than hiring professionals, make sure you have all the tools on hand mentioned above. No matter how confident you are installing a ceiling bike lift, always wear protective gear when working at height.
How Tall Do Ceilings Need to Install Bike Lifts?
Installing a ceiling bike lift requires a sill height below 10 feet. This is so that an appropriate length of rope is able to reach and suspend the bike lift from the ceiling. When the ceiling height is over 12 feet, then you’ll need a longer rope to secure the bike lift since gravity will force it down if there isn’t enough slack.
It’s also important to consider where on the ceiling you plan on mounting your bike lift, as this could affect how long your rope needs to be. If you’re looking for a simple solution without worrying about cutting off the excess rope or adding extra supports, then sticking with shorter ceilings is recommended.
Note: Different types of lifts may require different installation specs, so it’s always a good idea to consult the manufacturer before making any decisions.
How Much Weight Can a Ceiling Bike Lift Handle?
When hanging heavier bikes on a ceiling bike lift, it’s important to consider the weight capacity of the specific lift that you are using. Most lifts are designed with a maximum weight capacity of 100 lbs, but this can vary between models and manufacturers.
Suppose you plan on hanging multiple bikes with combined weights over 100lbs or have an especially heavy single bike. In that case, you may need to look into finding an appropriate support system that can handle the additional weight.
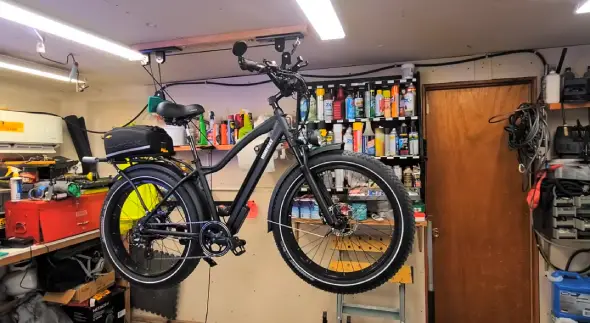
Boost Space Efficiency: Hang Your Bike From The Ceiling
Maximize your storage potential and reclaim precious floor space by installing a ceiling bike lift. With the simple steps outlined in this blog, setting up yours is now quicker and easier than ever. Don’t miss out on optimizing your room today – get started with an amazing new ceiling bike lift installation.
Before making any decisions, it’s crucial to carefully consider key elements such as ceiling height, weight capacity and design. Ensuring each factor is practical and aesthetically pleasing can yield the perfect lift for your space. You should also confirm that you can hang bikes by their wheels before you begin.
With these tips in mind and the right tools handy, you’ll be able to install your own ceiling bike lift like a pro.
