Last Updated on April 12, 2023
If maximizing your space is a priority, you should consider installing a garage lift. Although, it’s not always easy to fit a full-length lift into a small garage. But don’t be discouraged. You can still enjoy the advantages of a lift without compromising on space by shortening it.
With some tools, materials, and safety precautions, you can make adjustments, so it fits perfectly in your garage without any worry or extra hassle. Not to mention, once shortened, you can store more items in the same area as before and reap all the benefits while saving tons of time.
Let’s team up and discover an ingenious way to make the most of your garage lift. No inch will be wasted as we find a tailored solution for you.
How Can You Shorten Garage Lift: Easy DIY Guide
Shortening a garage lift is an important procedure that requires precision and attention to detail. Without proper measurements and a clear understanding of the process, you can’t shorten it effectively.
Here’s how to get started:
Gather Supplies for Shorten Garage Lift:
- Safety goggles
- Screwdriver
- Adjustable wrench
- Socket set and ratchet
- Pliers
- Ruler or measuring tape
Step 1: Measure the Desired Height Reduction
To ensure that you lower the garage lift to the perfect height for your vehicle, it’s essential to take measurements before you begin. You can use a tape measure or ruler to measure from the top of the platform to where you want the bottom of the platform to sit when lowered.
Note: Make sure to record this measurement so it can be used as a reference throughout the process.
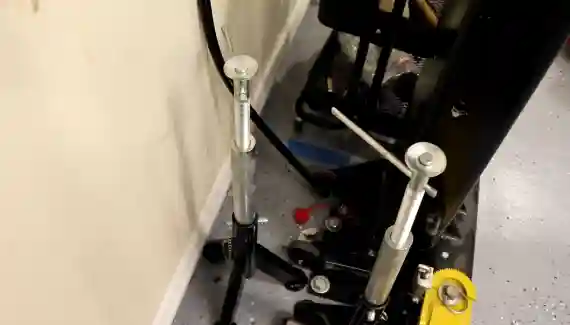
Step 2: Adjust the Equalization Cables
After you have your desired height measurement, you can begin adjusting the equalization cables. First, remove any pins or fasteners attaching them to the crossbar. Next, cut each cable down so that it is twice as long as your desired height reduction measurement.
Finally, reattach pins or fasteners onto the crossbar at their new positions. This will balance out both sides of your elevator platform, ensuring that it can be safely lowered without the risk of one side dropping lower than expected.
Step 3: Modify Column Extension
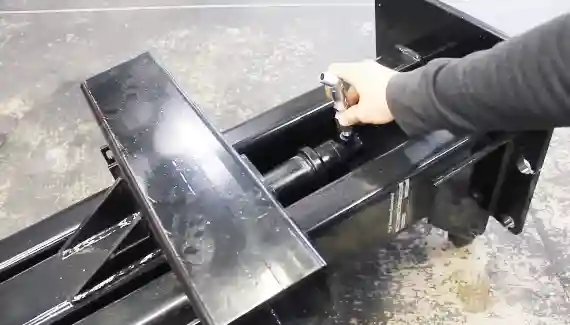
Next up is modifying your column extension to fit into its new lowered position once it has been installed on your lift platform. To do this, first, use a marker or drill bit to mark and drill new holes for mounting purposes.
Both sides of your column extension piece where it will meet with main column holes already drilled into your platform frame. Depending on how much you are lowering the lift and what type of setup you currently have.
You may also need to cut off part of this extension piece to fit properly within its new setup area. Align correctly with existing drilled holes within its frame once everything is completed.
Step 4: Install Lift at Lower Height
Now that all measurements are taken care of and all holes are drilled, it’s time for installation. Begin by fitting both the elevator platform and crossbar into their newly modified positions. Be sure to check twice before tightening any bolts or connections, you don’t want anything coming loose during operation.
Once everything looks secure, go ahead and tighten all bolts and connections until they are firmly in place.
Step 5: Test & Confirm Stability
The last step involves testing and confirming stability before using your lowered garage lift regularly with vehicles inside. Start by operating it up and down a few times to ensure proper functioning.
There should be no unusual sounds or vibrations coming from either its motor, cables, or suspension system during this process. When this is complete, feel free to use it regularly with confidence, knowing that safety has been taken into consideration firsthand.
What’s the Point of Shortening Garage Lifts?
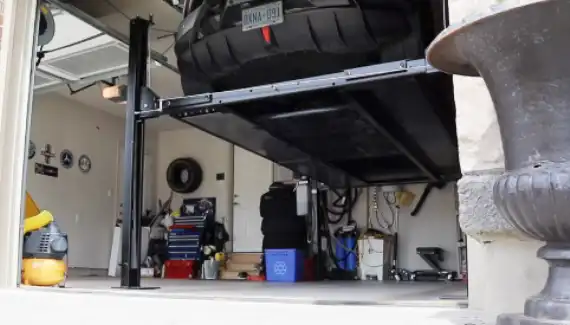
For those looking to make the most of their garage, a car lift can be an essential tool. But why shorten them? Shortening lifts not only offers more space-saving potential but also allows for easier and safer access.
Here are some reasons to shorten your car lift:
Multiple Cars Fit Easily in One Space
With shorter lifts, you can fit multiple cars easily in one area. This allows you to optimize the storage and store more vehicles without having to rent out additional parking spots or build a larger garage.
Clears Up Clutter
By shrinking the size of a lift, you can remove unwanted clutter from around it and clear up room for other items like gardening tools or toys. This makes it easy to always know exactly where everything is located when you need it most.
Improved Accessibility
Shorter lifts make it easier to reach all areas in a lift, as it won’t have to crane over or move awkwardly around larger machines to get something at the back. Because a short lift is safer and easier to use than a tall lift, it makes accessing what’s needed much easier for people with mobility issues.
Easier Maintenance
Having a smaller lift reduces the amount of work required for maintenance purposes because there are fewer parts involved. This means fewer complications that have to be overcome when trying to carry out repairs or adjustments that may be necessary over time.
Safer Alternative
When dealing with large pieces of machinery, safety should always remain paramount. Thankfully, shortening garage lifts gives users peace of mind knowing they won’t have to deal with unmanageable heights meaning that accidents are less likely to occur during operation.
Is Shortening Effective On Certain Garage Lifts?

The shortening of garage lifts can work on certain models. For example, a 4 post lift (wheel engaging) and a 2 post car lift (frame engaging) are the most commonly used and can be shortened safely and effectively.
With these types of lifts, the adjustment can be made by increasing tension in the lift cables or springs, as well as changing the mounting position of the lift arms. Some specific car lifts shouldn’t be shortened, like parking lifts, scissor lifts, portable lifts, mobile column lifts, and in-ground lifts, due to their unique design.
Note: Alternative methods must be used to increase the clearance height of these types of garage lifts.
What Should You Consider When Shortening a Garage Lift?
Shortening a garage lift can be an exciting endeavor, but it’s essential to consider several factors for the system to run properly and safely. Whether you’re building something brand-new or simply adjusting your current setup, planning ahead is key.
The following factors should be considered when shortening a garage lift:
Determine the Necessary Height Adjustment
Before beginning any work, measure the ceiling height from where the motor will be attached. Then, determine how much of an adjustment will be needed to make the system fit in its new space.
Check Manufacturer Specifications
Some manufacturers set their specifications for how much height adjustment can be made without compromising safety or performance. Ensure that these specifications are followed precisely to prevent any potential problems with your system after installation.
Take into Account Possible Obstructions
Before attempting any height adjustments, ensure that all potentially obstructive objects, such as pipes, wires, or other fixtures, are accounted for. Won’t interfere with the installation process or result in a compromised performance afterward.
Make Sure You Have All Parts Needed For Installation
Before beginning any installation, it’s always wise to double-check that all the parts and necessary tools are available. Get your screws, nuts & bolts, mounting brackets, and any other parts you need, like wrenches and drills, to ensure smooth auto lift assembly.
Get Professional Assistance if Necessary
If at any point during the installation, you feel overwhelmed or unsure about something related to your project. Then it’s always best practice to contact a professional who specializes in garage lifts and repairs so they can help guide you through every step correctly.
How Much Shorter Can A Garage Lift Be Safely Shortened?
Adjusting your vehicle lift, whether for convenience or aesthetic purposes, requires precision and care. The standard lowering is 4-5 inches, but if you want to go a bit further beyond that, it’s possible. Just remember the rule of thumb: 2 inches drop on the bar height demands an adjustment in cable length by four inches.
Any heavier components will also require additional cable length adjustments to prevent strain or torque offset on potentially sensitive parts. These precautions will keep everyone safe while operating the lift. Incorrect resistance-style weight management can also lead to misalignment or wrong tensioning.
Ensure Secure & Safe Modifications to your Garage Lift
Unlocking extra space in your home garage can be as easy as shortening the lift. But among other considerations, ensure that any modifications you make to it remain safe and secure. Otherwise, a helpful feature could become more of a hazard.
If all else fails, reducing its length might just provide the clearance needed when lower sills are at play. Also, not all lifts are suitable for shortening, and you can only go so short before it compromises stability or security. Considering all these points, you should now have all the information you need to make an informed decision about whether or not to shorten your garage lift.
