Last Updated on June 13, 2023
A 2-post lift can make car maintenance or repairs on your car easier and more efficient. Positioning your car on the lift correctly is crucial to ensure safety and prevent damage to your vehicle.
To position your car on a 2-post lift, drive it onto the lift and center it between the lift arms. Identify the lift points on your car’s frame or chassis, position the lift arms under them, and raise the car to the desired height. When finished, lower the car and remove the lift arms with caution.
Alright, buckle up and keep reading because we’re about to dive into the nitty-gritty details of these steps.
Positioning a Vehicle On a Two-Post Lift: Steps to Follow

Positioning a car on a 2-post car lift involves a series of steps that require careful attention to detail. Here are the steps in the quick form:
Step #2: Drive the Car onto the Lift
Step #3: Identify the Lift Points
Step #4: Position the Lift Arms
Now let’s take a closer look at the details.
Step #1: Preparation
Before utilizing the 2 post-lifting apparatuses, the equipment must be thoroughly inspected to ensure proper functionality and compatibility with the vehicle’s weight and dimensions. This is important to avoid any accidents or damage during the lifting process.
Here are some key items to check during the preparation stage:
- Check the lift’s hydraulic system to ensure it is functioning properly.
- Inspect the locking mechanism to ensure it can securely hold the vehicle’s weight.
- Check the lift pads for signs of wear and tear or damage.
- Verify that the lift’s capacity matches the car’s weight you intend to lift.
By following these steps, you can ensure that the lift is in good condition and appropriate for the car you intend to lift.
Step #2: Drive the Car onto the Lift
The proper alignment and centering of the vehicle onto the lifting apparatus are crucial for ensuring a safe and successful lifting process. This reduces the risk of accidents or damage to the vehicle.
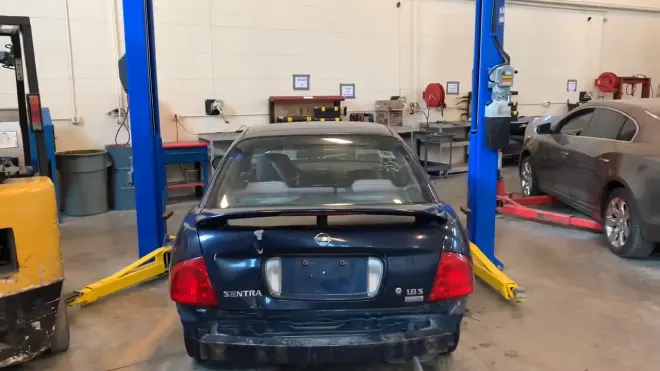
Before driving the car onto the lift, check that the lift arms are in the correct position and that the lift is level. Once you have confirmed that the lift is ready, slowly drive the car onto the lift, making sure that the car is centered and aligned with the lift arms.
This can be done by aligning the car’s wheels with the lift arms and ensuring that the car is in the middle of the arms.
If the car is not centered, it can cause the lift to become unbalanced, which can be dangerous and lead to accidents. Once the car is in position, engage the parking brake and turn off the engine.
Step #3: Identify the Lift Points
Identifying the appropriate lift points on the vehicle’s frame or chassis is crucial in the lifting process.
Lift points can vary depending on the make and model of the car, so it is important to refer to the car’s owner’s manual or a lift point guide tailored to the specific vehicle being lifted.
Failure to identify the correct lift points can damage the car or, even worse, accidents that can cause injuries or loss of life. Therefore, correctly identifying the lift points correctly is crucial for a safe and successful lift.
It is important to note that lift points should never be placed on suspension or steering components, as they are not designed to withstand the car’s weight.
Instead, the lift points should be placed on strong and stable parts of the frame or chassis, such as solid metal sections or dedicated lift points provided by the manufacturer.
Step #4: Position the Lift Arms
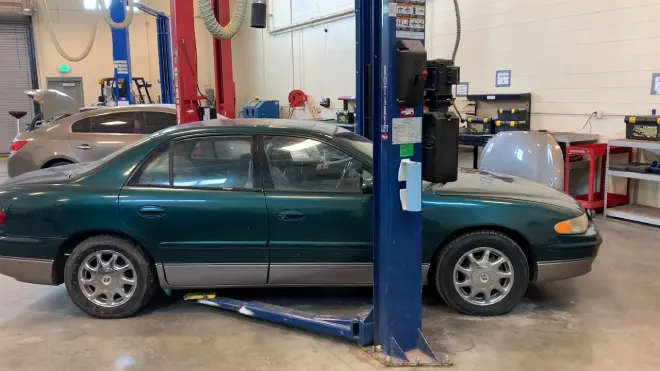
With precision and caution, aligning the lift arms under the designated lift points is crucial to ensuring a secure and stable fit that avoids any potential damage or harm.
It is important to correctly position the lift arms so they are seated properly in the lift points without contacting any parts of the car’s body or undercarriage.
This requires a steady hand and an eye for detail, as even a slight misalignment can result in an unstable lift and potential damage to the car.
Step #5: Raise the Car
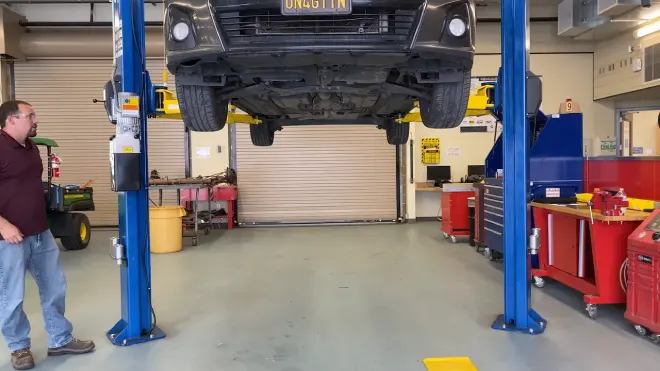
Now that the arms are in place, raising the car to the desired height is time. It is important to pay careful attention to this step to ensure the operator and vehicle’s safety.
To properly lift the car, follow these steps:
- Slowly raise the lift: Press the lift control button to raise the car. Raise the car slowly to ensure that it remains level as it is lifted. Keep a close eye on the car’s movement to avoid any accidents or damage.
- Check the car’s position: Double-check that it is properly positioned on the lift arms as the car is being lifted. The car should be centered on the arms, and the arms should be evenly supporting the car’s weight.
- Check for obstructions: Make sure that there are no obstructions in the way that could interfere with the car’s movement as it is being lifted.
- Getting the car to the right height: Once the car is properly positioned and all safety checks have been done, raise it until it reaches the desired height.
Step #6: Lower the Car
Properly lowering the vehicle after completing work on it is a crucial step that requires careful attention to protect both the vehicle and the operator.
It is important to lower the car slowly and keep a close eye on its movement as it is being lowered. This will help avoid any accidents or damage to the car.
Ensure the lift arms are fully disengaged before lowering the car to the ground. Once the car is all the way down, turn off the lift and remove the key. It is also a good idea to double-check that the car is securely on the ground before walking away.
Lowering a car on your 2-post lift may seem straightforward, but it is important to do it correctly to avoid any potential hazards.
Careful attention to detail during this step will ensure that the car is safely lowered to the ground without any damage.
Step #7: Remove the Lift Arms
After lowering the car back down to the ground, the lift arms should be carefully removed from the lift points, ensuring that they do not come into contact with any parts of the car. It is important to approach this step with caution to prevent accidents or mishaps.
Once the lift arms have been removed from the car, the vehicle can be safely driven off the lift. Inspecting the car’s underside and lift points for any damage before driving is recommended.
What height should a 2-post car lift be?

Based on industry standards, a 2-post car lift should have a minimum clearance of 12 feet from the floor to the ceiling. This is required to ensure the lift can safely accommodate various types of vehicles at different heights.
It is important to note that certain manufacturers may have specific clearance requirements for their lifts, so it is essential to always refer to the manufacturer’s recommendations.
How much weight can a 2-post car lift hold?
A 2-post car lift can hold anywhere from 6,000 to 30,000 lbs. But, it is essential to note that the weight distribution is not always evenly distributed in the vehicle.
This implies that sometimes the majority of the weight rests either at the front or the back of the automobile when it is raised.
Therefore, even though the lift can handle the mentioned weight range, caution must be taken when positioning the vehicle on the lift.
Where can you find the best 2 post car lifts for your garage?
The best way to find top-quality 2-post car lifts for your home garage is by researching and comparing different types. But, this task can be daunting and time-consuming.
You don’t need to look any further, as our comprehensive review provides you with all the information needed to make an informed decision.
We have researched, compiled the data, and created a meticulously curated list of the best car lifts for home garage. From our review, you can find the 2-post lift that is right for you.
What size garage do I need for a 2-post lift?

The recommended garage bay size for a 2-post lift is 12 feet tall by 12 feet wide by 24 feet deep. This size ensures that there is enough clearance for an overhead model.
A floor-plate model will be the best option if your garage has lower ceilings. The floor-plate model is designed to work with lower ceilings and is a great alternative to the overhead model.
Use 2-Post Lift Correctly: Ensure Efficient and Safe Car Maintenance
Positioning your vehicle on a 2-post lift requires a careful and precise process. By following our steps, car enthusiasts can safely and efficiently use a 2 post lift to work on their vehicles. It is important to consider the height and weight capacity of the lift, as well as the size of the garage in which it will be installed.
Investing in a high-quality 2-post lift is crucial to ensure the safety of both the car and the user. Researching the best options and seeking professional advice can help make an informed decision.
Ultimately, properly using a 2 post lift can provide a convenient and practical car maintenance and repair solution, allowing enthusiasts to enjoy their hobby with peace of mind.

