Last Updated on March 7, 2023
Is your recreational vehicle one of your pride and joys? If so, you know that it requires maintenance from time to time. One of the most common issues RV owners face is a leaking hydraulic RV jack. So how to fix a leaking hydraulic RV jack at a fraction of the cost?
To begin the repair process, start by turning off the engine and leveling your RV for safety. Then locate the leaking jack, inspect all its parts for damages, and clean any area that may be leaking with a cloth or paper towel.
Check for worn-out seals or gaskets, and replace them with new ones if necessary. Ensure to reattach all hydraulic lines to their corresponding cylinders and hoses before refilling the system with the recommended fluid. Finally, inspect all connections to ensure nothing is amiss.
In the following blog post, we’ll discuss these step-by-step instructions, so your RV will remain in top shape.
How to Fix a Leaking Hydraulic RV Jack: Effective Instructions
There is nothing worse than a leaky RV jack, and they should be fixed without delay. So, follow the instructions below to fix up your leaky hydraulic jack.
01: Turn Off the Engine and Level the RV
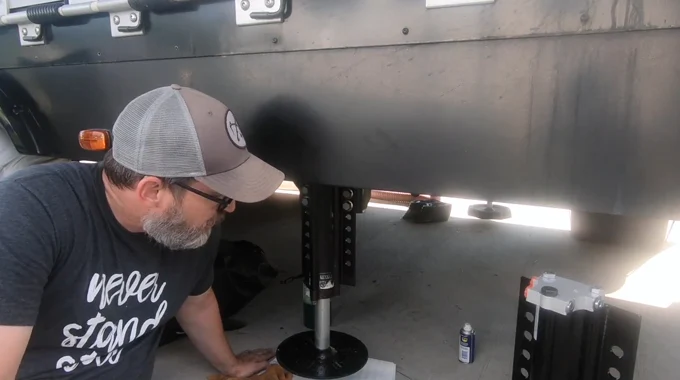
When fixing a leaking hydraulic RV jack, the first step is to stop the engine and level the RV to ensure stability. An individual should ensure the jack is completely lowered before turning off the engine.
This will provide a durable surface for someone to work on and ensure that any fluid that may have leaked from the jack won’t be affected by vibrations caused by an engine running. Also, leveling the RV will ensure that any jacks are adequately supported and need minimal effort when raising or lowering them.
02: Locate The Leaking Jack
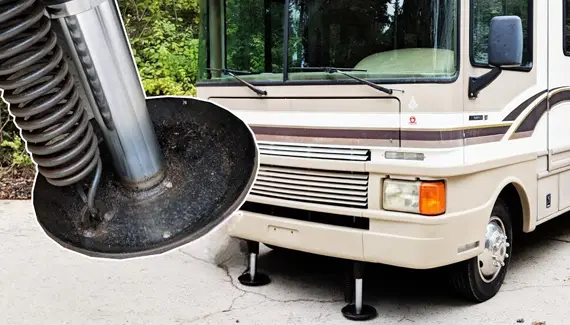
Once leveling has been achieved, the next step is to locate the leaking jack. It’s essential to inspect all of your jacks and check for puddles of fluid or other signs of leakage, such as wetness around a jack’s connection points.
If you cannot identify where the liquid is coming from, use a cloth or paper towel and run it along each component until you find where it becomes damp. Once you’ve identified where the liquid is coming out, this will be your leaking jack and needs further attention.
03: Check Hydraulic Fluid Levels In Jack System
Before attempting any repair work, it’s essential to check the fluid levels in your RV’s hydraulic system. Low fluid levels can cause leaks in your jacks due to inadequate lubrication, which can damage parts such as seals or gaskets within them over time.
To check fluid levels, you’ll need to remove your vehicle’s hydraulic jack fluid cover (or any other covers) and inspect its dipstick or fill cap. Depending on how old your vehicle is, top up with hydraulic fluid if necessary.
04: Inspect Hydraulic Hoses And Connections For Leaks
Once checking for low levels of fluids has been completed, the next step is inspecting all hoses and connections for leaks to identify what could be causing them in your jack system. It’s essential to look at both ends of each hose for any signs of wear or damage, such as tears or cracks.
It’s also important to check the connections to be secure enough and not allow any liquid to seep out when activated or under pressure. If anything looks worn or damaged, replace these hoses/connections immediately before taking further steps.
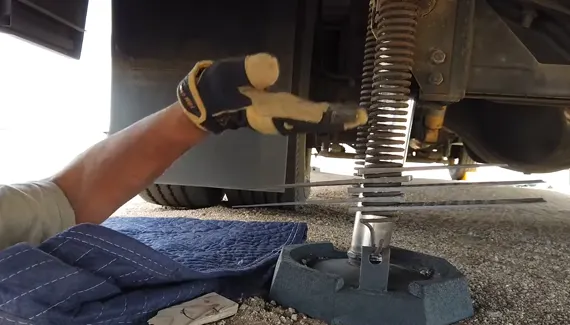
05: Clean The Area Around The Leaking Jack With A Cloth Or Paper Towel
Now that the hoses/connections have been inspected, it’s time to clean up around the leaking jack with a cloth or paper towel before doing anything else with it. This will help prevent dirt from entering into it while being repaired, which can block small parts inside.
Wipe away any excess liquid and dirt around areas like seals/gaskets. Double-check everything afterward, ensuring no particles remain settled around these components before continuing with further repairs if necessary.
06: Check Seals And Gaskets On Leaking Jack
Once the cleaning has been carried out, now comes the time for repairing the problem itself, starting by inspecting seals/gaskets within your leaking jack for signs of leakage (as opposed to checking hoses/connections beforehand).
Look at the seals and gaskets to ensure no worn spots or anything else prevents them from sealing properly. If you need to, replace them. Then you can continue maintenance work on other parts of your system, like lubricating moving parts.
07: Reattach Hydraulic Lines to the Cylinder and Hoses
Once you have identified and purchased any necessary parts for your leaking hydraulic RV jack, you can reattach the hoses and hydraulic lines.
First, ensure that all connections are securely tightened when attaching them. Then carefully route the hoses in a way that provides there is no kinking or other damage during operation.
Finally, use appropriate sealant on all connections. It depends on the material your lines are made from to ensure no leaks after installation.
08: Refill Hydraulic System with Recommended Fluid
Once all connections have been secured and tested for leaks, it is time to refill the system with the fluid that your manufacturer has recommended.
Before refilling it, ensure you know what type of fluid is right for your jack. Incorrect fluid can cause damage to the system and lead to further issues down the line.
Drain any left-over fluid from previous maintenance operations to appropriately fill up the system before adding new fluid. Follow instructions closely if you plan on venting off air as part of this process.
09: Check All Connections After Replacing the Hydraulic Fluid
Now it’s time to recheck every connection to make sure no leaks are present.
Begin by turning on each fitting individually until the liquid flows through each one. If air bubbles appear, this may indicate a leak or loose connection somewhere in the system, which needs immediate attention. And repeat the checking process until all connections are tested, and no leaks have been found.
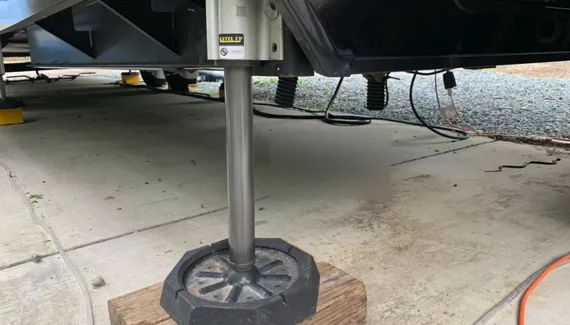
10: Test the Hydraulic RV Jack
Finally, it’s time to test the RV jack after completing all the necessary repairs and maintenance work. Slowly extend and retract the cylinder of your jack several times to ensure everything works correctly before using it. Check for any unusual noises or movements when doing this.
If the jack is still leaking, you may need to seek professional help from an RV mechanic or hydraulic jack specialist.
Why Do Hydraulic RV Jacks Become Leaky?
Unfortunately, this is a common issue that can cause inconvenience and even costly repair fees if not fixed quickly. Leaks in hydraulic RV jacks can be caused by several factors, such as:
Worn Seals:
In most cases, the reason for a hydraulic jack to become leaky is worn seals. The seals in a hydraulic jack are responsible for keeping fluid from leaking out of the cylinder. Over time, these seals can become worn and allow fluid to escape, which will cause the jack to become less effective.
Damaged Cylinder:
Another common reason for a hydraulic jack to leak is a damaged cylinder. The cylinder is the part of the jack that contains the fluid that is used to raise and lower the load. If the cylinder becomes compromised, it can develop cracks or holes that will allow fluid to escape.
Loose Fittings:
Another reason why hydraulic jacks leak is loose fittings. The fittings on a hydraulic jack are responsible for connecting the various parts of the jack together. If these fittings are not tightened properly, they can become loose and allow fluid to leak out.
Air in the System:
Another common leak contributor in hydraulic jacks is air in the system. When the air gets into the system, it can compress under pressure and cause fluid to leak outside the system whenever a crack or hole occurs.
Broken Pump:
Another potential cause of leaks in hydraulic jacks is a broken pump. The pump is responsible for moving fluid through the system, and if it fails, fluid can leak out through any cracks or holes that are present.
Improper Maintenance:
One of the most common causes of leaks in hydraulic jacks is improper maintenance. It is important to regularly inspect and maintain your hydraulic jack to ensure that it is in good working condition. If you do not properly maintain your jack, it can develop leaks and other problems over time
How to Maintain a Hydraulic RV Jack to Avoid Future Leaks?
- Check the jack for any visible defects before using it. If there are any cracks or other imperfections, do not use the jack and replace it immediately.
- Inspect the hoses and fittings for any leaks before using the jack. If there are any leaks, tighten the fittings or replace the hoses as necessary.
- Fill the reservoir with hydraulic fluid before using the jack. Use only hydraulic fluid that is specifically designed for use in RV jacks.
- Extend and retract the jack several times before using it to lift your RV. This will help to ensure that the jack is working properly and that there are no leaks.
- When you are finished using the jack, retract it fully and remove any hydraulic fluid from the reservoir. This will help to prevent corrosion and extend the life of your RV jack.
- Store your RV jack in a dry, safe place when not in use.
Can You Bleed a Hydraulic Camper Jack to Stop Leaking?
If your camper jack is leaking, it may be necessary to bleed it. This process releases air from the hydraulic system, which can help to stop the leak. In order to bleed your camper jack, you will need a few tools and supplies.
To begin with, you will need a clean rag or sponge. Next, locate the bleeder valve on the jack. This is usually a small screw that is located near the base of the jack. Once you have located the bleeder valve, use a wrench to loosen it. Be sure to crack the valve open just enough to release air. If you open it too much, fluid will also escape from the system.
With the valve slightly open, slowly operate the jack until fluid begins to flow from the bleeder valve. As fluid flows from the valve, use the rag or sponge to catch any drips. Once the fluid has started flowing freely from the bleeder valve, tighten it back up. Test the jack to see if it is still leaking; if so, repeat this process until the leak has stopped.
Is it Possible to Fix a Broken Pump of a Hydraulic Camper Jack?
It is very much possible to repair a broken pump on a hydraulic camper jack. The first step is to locate the leak. If the leak is at a fitting, then it can be fixed with a new O-ring or gasket.
If the leak is in the hose, then the hose needs replacement. Once the leak has been fixed, the next step is to add oil to the reservoir. The amount of oil that is added will depend on the manufacturer’s specifications.
Then, the jack should be tested to determine if it is functioning properly. Keep in mind that If the pump cannot be repaired, then it will need to be swapped out.
So, Let’s Fix-up Your leaky Hydraulic RV Jack Today
Leaking hydraulic RV jacks can be a daunting problem for any recreational vehicle owner. But with proper diagnosis and maintenance, it doesn’t have to be.
This blog post covered step-by-step instructions such as locating the leak, inspecting hoses and connections for leaks, replacing worn-out parts, refilling the system with recommended fluid, and checking all connections after replacing fluid.
By taking these guides in order, you should be able to identify and fix your leaking hydraulic RV jack successfully.
With regular maintenance checks and preventive measures such as cleaning or sealing any exposed areas around your hydraulic system, you should be able to reduce any chances of future leaks occurring dramatically.
Now you can diagnose and repair a leaking hydraulic RV jack safely and effectively. Enjoy your travels worry-free.