Last Updated on March 13, 2023
Have you been pondering bringing down a two-post automotive lift but don’t know where to start? Disassembling a two-post lift requires technical knowledge to do it safely.
The process includes disconnecting power cables, removing the top bar, unhooking wires, draining hydraulic fluid from the system, and removing the nuts from the base. Then, remove the hydraulic lines, lift cables, arms, columns, and concrete anchors, and disassemble the lift components.
When taking on such a task, be aware of all safety requirements and use caution when working with hazardous systems. It is strongly recommended that an experienced assistant is present for help when disassembling the lift, and protective gear should be worn at all times.
We share easy-to-follow steps to ensure your operations are up to code with maximum safety.
How to Disassemble a 2 Post Car Lift Safely: DIY Steps
Disassembling a 2 post car lift in a home garage can be a daunting task, but with the right tools and technique, it can be done quickly and safely. This guide will provide step-by-step instructions on disassembling a 2 post lift so that it can be transported and stored safely.
Step 01: Gather The Necessary Tools:
It’s important to have the right tools and equipment when attempting to disassemble a 2 post automotive lift. Depending on the size of the lift, utilizing correct sized wrenches, sockets, pliers, a hammer, and a pry bar is essential for safely and successfully carrying out the task.
Step 02: Disconnect The Power:
Before beginning to take apart the lift, it is necessary to disconnect all power sources, including electricity and hydraulic lines. This can be done by shutting off the main power switch, turning off circuit breakers, or unplugging any cords connected to an outlet.
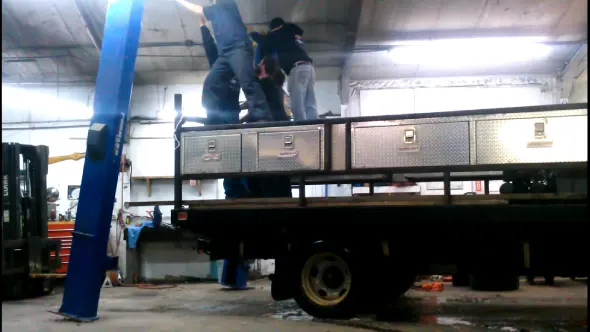
Step 03: Remove The Vehicle (If Necessary):
All vehicles must be taken off the car lift before starting to disassemble it. Depending on what type of vehicular load has been placed on the lift, there may need to be two people involved in this step in order to ensure safety for both people and vehicles.
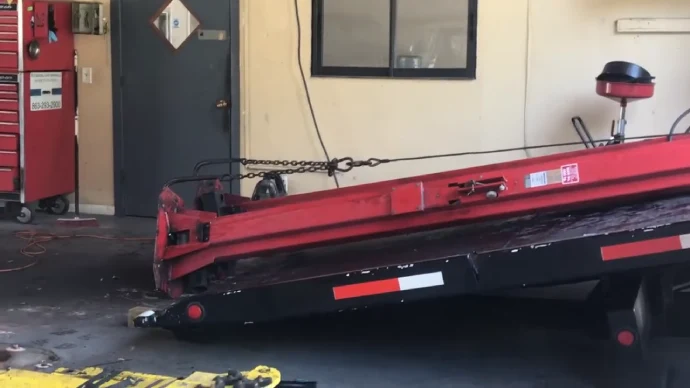
Step 04: Remove the Top Bar:
Once all vehicles have been safely removed from the car lift, remove the top bar which connects each post together from top to bottom with bolts or screws at each end. Using a wrench can make this job easier once all bolts have been loosened.
To avoid damaging the posts, it’s important not to use too much force when unscrewing these bolts. Otherwise, they can easily become stripped or broken if excess pressure is used while removing them.
Step 05: Unhook Cables and Wires Connections Between The Posts:
You may also need to disconnect any cables and electric wires between each post connected at either end of the top bar. Again using a wrench can help with this task. Caution should again be taken here so as not to damage any wires or hoses due to extreme tightening during the detachment process.
Step 06: Drain The Fluid:
After unhooking any cables, wires, and other connections, you will also need to drain any fluids, such as hydraulic oil, that may still be inside the car lift, such as inside its base plate and posts. It can easily be done by opening an appropriate spout for drainage purposes located near these components.
Once complete, you may then move onto taking it apart. These components individually which will require some hand tools such as screwdrivers, pliers, etcetera depending on how complex their design is (mainly those involving nuts).
Step 07: Remove The Nuts From The Base:
Begin with loosening the nut that holds the base plate in place at either side of the post using pliers or a wrench if necessary. Once the nut has been sufficiently loosened, tilt the post one side gently while supporting with scrap 2×6 pieces placed at either side before fully removing the base plate underneath the posts.
Step 08: Remove The Hydraulic Lines:
Carefully disconnect any hydraulic lines that were connected to the post. Ensure to note which line went where as this will save time during reassembly. Also, take necessary safety precautions when dealing with these high-pressure lines as they can cause serious injury if not handled correctly.
Step 09: Remove The Lift Cables:
Move on to removing any lift cables that may be connected to either post. Ensure you pay attention so that you don’t accidentally disconnect anything while attempting to remove these cables. Keep track of which cable goes where on each post so they can easily be reconnected afterward.
Step 10: Remove The Lifting Arms:
Once all of the cables have been disconnected, you can go ahead and begin removing any lift arms attached to either column by unfastening the bolts and holding them in place. Pay special attention when working around these arms since they are under considerable stress and might cause injury if mishandled in any way.
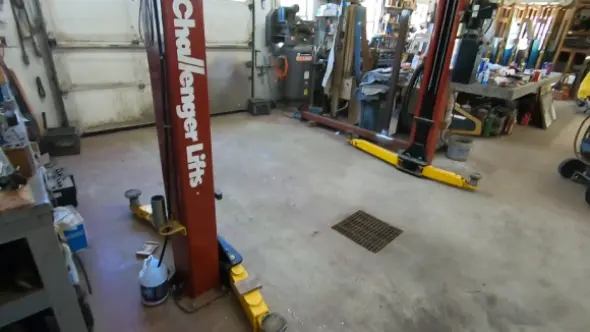
Step 11: Remove The Lift Columns:
Remove both columns from their base by unscrewing all four mounting bolts located on each side of both posts simultaneously using an adjustable wrench or socket set. It’s important that you keep track of which bolt came from which side as this will make reassembly much easier later on down the line.
Step 12: Remove The Concrete Anchors:
Remove any concrete anchors or mounting hardware used during installation at your original location. This could include anything like long screws embedded into concrete flooring or large stones situated around each corner post.
Step 13: Disassemble The Lift Components:
Carefully take apart the lift’s components, including its power unit, control box, and protection locks. Ensure each piece is handled precisely to maximize efficiency and ensure your safety.
Afterward, wrap each piece up securely in packing materials for added protection. Foam wraps work best here, but bubble wrap also does an adequate job in most cases depending on what exactly needs protecting (i..e hydraulics vs steel components).
Step 14: Transport The Lift Components (If Needed):
Transport everything onto a truck using appropriate lifting equipment such as forklifts or cranes before driving off towards its final destination. Make sure that everything is secured properly inside before taking it out onto roads so nothing falls out while driving.
Is It Safe To Disassemble a 2 Post Car Lift On Your Own?
It is possible to disassemble a 2 post vehicle lift on your own, but it is recommended that you consult the manufacturer’s manual and take safety precautions if you are not an experienced professional. Disassembling a 2 post lift or hoist can be tricky and potentially dangerous as it requires extreme caution when handling heavy parts.
Therefore, it is best to approach this task with utmost care and follow all safety instructions provided by the manufacturer in order to prevent any injuries or accidents from occurring. It is also essential to have the proper tools for the job as well as the necessary knowledge about working with car lifts in order to safely and successfully complete the disassembly of the car lift.
What Safety Should You Be Aware of When Disassembling a 2-Post Car Lift?
Before attempting to disassemble your two-post car lift, it is important to take proper safety precautions. Ensure the power is off and all electrical components are disconnected before beginning work.
Wear protective eyewear if necessary when performing repairs or maintenance on the car lift. Ensure that there are no bystanders present in the area while you are working in order to avoid potential accidents.
Do You Need to Lubricate Any Parts of the Lift During Disassembly?
You may lubricate some parts of the lift or hoist during disassembly in order to make them easier to remove. This could include lubricating bolts, pins, and other threaded components.
It is also important to check with the owner’s manual for any specific lubrication requirements that are specified for the particular model being worked on. It is always a good idea to use high-quality lubricants that are designed for automotive applications.
Do You Need Support When Taking Apart Your 2-Post Car Lift?
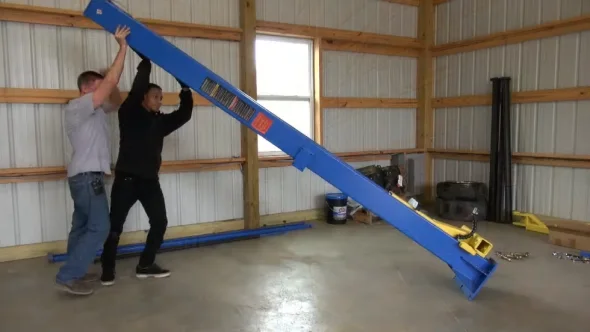
It is highly recommended that you have someone assisting you in taking apart your two-post car lift for both safety and structural support reasons.
Having someone hold certain pieces together or help stabilize others while you unbolt them can ensure that no damage is inflicted during disassembly. This is because it needs much support if something comes loose unexpectedly while being removed.
Safely and Quickly Disassemble a 2 Post Car Lift
Disassembling a two-post car lift effectively saves time and money while performing maintenance or repairs on your own vehicle in your home garage. Always use appropriate safety gear when disassembling your two-post car lift, such as gloves and goggles. These items can help prevent injury during the process.
Ensure to have an assistant nearby who can help if needed. As long as you use caution when dealing with power sources and sharp edges, there should be no reason for the risk of injury. We recommend using the best two-post car lift for easy disassembling with its high-quality parts.