Last Updated on March 19, 2023
Are you planning to lift your truck? If so, you may wonder if the wheel alignment is necessary after the lift kit installation. Many people assume that all they need to do is install the lift kit, and they are good to go. But this couldn’t be further from the truth.
Your tires can wear unevenly without proper wheel alignment, and you risk having suspension and steering issues. Proper wheel alignment ensures your car’s safety, performance, and optimal operation. It helps guarantee that all tires contour correctly to the road surface.
The dampers & springs remain intact, too, so you don’t have inconsistent tread patterns, ultimately safeguarding your suspension and steering from any issues. So it’s essential to understand when and why a wheel alignment should be done after installing a lift kit.
Keep reading to learn what to expect with a lifted truck and how often wheel alignments should be done.
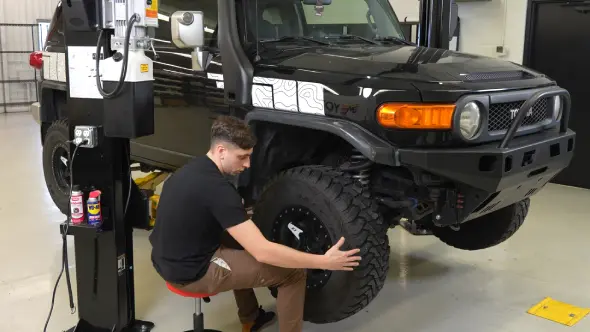
How Do I Need a Wheel Alignment after Lift Kit: 5 Steps
Wheel alignment after lift kit installation is essential for maintaining safety and stability when driving off-road and restoring good handling characteristics on flat surfaces. A lift kit raises the center of the vehicle (car, RV truck, SUV, Jeep). This makes it easier to drive over different types of terrain.
Let’s take a closer look at the process for wheel alignment after lift kit installation to get optimal results.
Step 01: Preparing for Wheel Alignment
Before a wheel alignment can be performed on a vehicle, especially one equipped with a lift kit, there are some critical steps to prepare for the alignment.
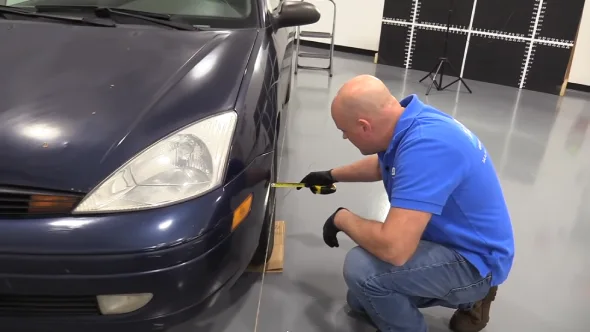
The first step in preparing for the wheel alignment is to inspect the vehicle’s suspension components. All components must be checked for signs of wear and tear and damage. Any damaged parts should be replaced before attempting to perform an alignment.
This ensures that all parts can work properly and will not affect the accuracy of the alignment.
The next step is to correct the tire pressure and suspension height. Not setting these correctly can lead to an inaccurate wheel alignment and potentially cause further damage.
Also, checking all steering components for any damage or excessive wear is vital, as this can also cause problems during an alignment.
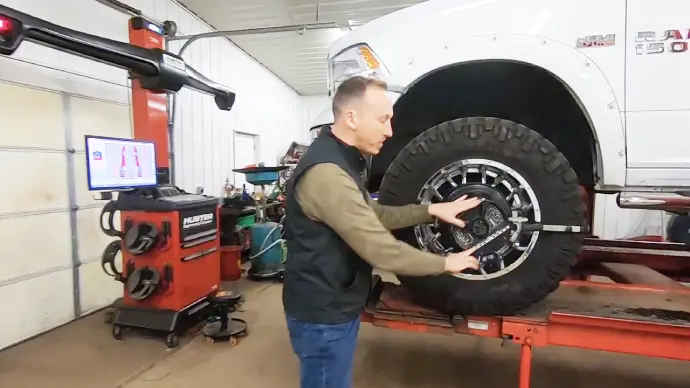
Step 02: Setting Up The Alignment Machine
i) When attempting an alignment using an automated machine, all components must be properly calibrated before use. This includes ensuring that each axis sensor is correctly positioned so that measurements can be accurately taken when measuring wheel angles or toe-in/toe-out configurations.
Also, all relevant data about the car being aligned must be inputted into the machine’s software for accurate readings and results to be achieved during realignment procedures afterward.
ii). If opting for manual alignment after installing a lift kit, then it is essential to take measurements from various points around each wheel, including ride height (distance from hub center line), camber (wheel angle relative to vertical plane), caster (wheel angle relative steering axis) as well as toe-in/toe-out figures (angle between front/back tires).
After taking these measurements, adjustments can be made by shimming components or resetting settings on adjustable parts to achieve desired figures during final inspections afterward.
Step 03: Measuring and Adjusting Wheel Angles
During this step, three things need to be noted:
i). Toe is a term used to describe a wheel’s angle about the vehicle’s centerline. When adjusting the toe, the goal is to have the vehicle’s front and rear wheels pointing straight ahead.
To accomplish this, you must independently check both the left and right side toes using an alignment gauge or string method. Once measurements are taken and documented, you can adjust the toe by loosening lug nuts and turning the tie rods with an adjustable wrench until desired angles are achieved.
ii). Camber refers to the angle of a wheel when viewed from in front or behind the car, measuring how much it “leans” inward or outward from vertical when looked at from either side. This angle affects tire wear and overall handling performance, so the camber must be set correctly after installing a lift kit.
To measure camber accurately, use a digital camber gauge or laser alignment tool to display exact readings on its digital display.
Once measurements are taken and adjustments are made with special tools (such as camber bolts), re-check readings before tightening all suspension components back to their original specs for safety purposes.
iii). Caster describes the tilt of a wheel’s steering axis as viewed from the side of the car when looking at its vertical orientation while driving forward. It should generally slope backward toward the vehicle’s rear for stability in cornering and straight-line tracking comfortability.
Checking caster measurements after installing a lift kit is crucial. It can significantly affect steering feel and tracking stability under high-speed conditions such as highway driving or heavy load-carrying scenarios.
Using any caster angle measuring tool (such as bubble caster gauge), take readings for both driver’s side and passenger’s side casters before making adjustments with special tools (such as caster shims).
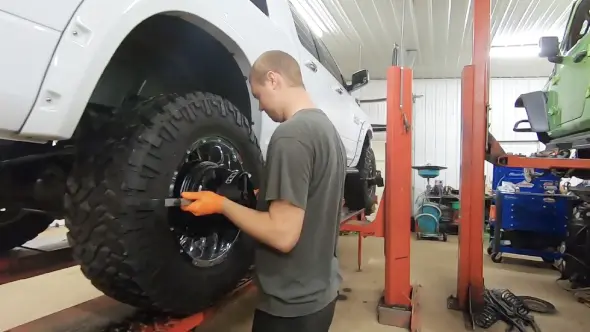
Step 04: Finishing Up the Process
Once all adjustments have been made to the suspension components, it is essential to re-torque them back to their original settings. This ensures that no additional stresses have been placed on the components due to improper installation or adjustment.
Also, this will help prevent further wear and tear on these components caused by vibrations created by uneven or loose connections. The tires should also be double-checked for proper inflation levels and well-balanced. Lopsided tires can cause steering problems as well as premature tire wear.
Step 05: Test Drive and Final Inspection
After installing a lift kit, a test drive is essential to ensure that all adjustments have been properly made and that the alignment angles are correct.
During a test drive, one should pay attention to how the vehicle handles in different situations, such as turns, acceleration, braking, and high speeds, to detect any issues with alignment angles or misaligned parts of the suspension system.
It is also essential to inspect the alignment angles during this process to determine if further adjustments are needed before taking it out for a long-distance journey.
Finally, after completing all necessary steps, it is crucial to confirm that the alignment has been done correctly and accurately with a final inspection of all angles and components before road use.
How Often Do Lifted Trucks Wheels Need Alignment?
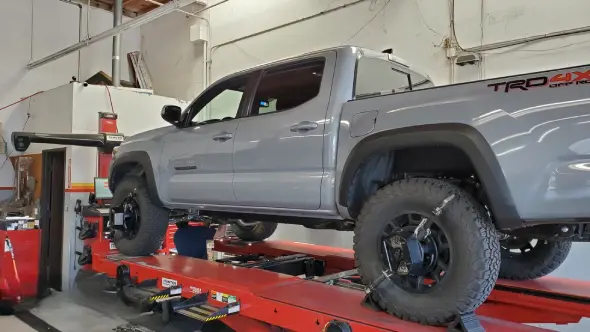
It is essential to check your wheel alignment regularly, especially after installing a lift kit. The recommended interval for wheel alignment on lifted trucks is 3000 to 5000 miles after the initial retorquing.
This allows the suspension to settle into its new form and get used to the angle changes, which may cause the alignment to shift. Regular wheel alignment checks help ensure you get the most out of your car, RV truck or SUV and drive safely.
How Do I Know If My Lifted Truck Needs Immediate Wheel Alignment?
Notice any of the following symptoms with your lifted truck. It may be time for a quick wheel alignment check:
Abnormal tire wear in certain spots, crooked steering wheel during straight-ahead driving, noisy steering, pulling in one direction, squealing tires, loose handling feel, or steering wheel not returning to center.
If you experience any of these issues with your vehicle, getting a professional wheel alignment check is best as soon as possible.
Do I Really Need an Alignment before Installing a Lift Kit?
Getting an alignment done before installing a lift kit is unnecessary. But it is highly recommended afterward. Installing a lift kit typically involves significant adjustments to the suspension system that can affect the current wheel alignment.
Having an alignment performed after installation helps ensure that all components are performing properly and that you are getting the most out of your vehicle and driving safely.
Wheel Alignment After Lift Kit Installation for Safety and Performance
Getting a wheel alignment after installing a lift kit is key for ensuring your vehicle’s performance and safety. It improves handling quality, reduces tire wear, enhances suspension, and maintains proper contact between tires and the road surface.
Though it can be easy to check your alignment before heading to an auto shop or mechanic, always remember that only experts can accurately assess and perform any necessary adjustments or repairs.
Regularly checking your wheel alignment will also go a long way in maintaining your car’s condition and helping you avoid costly repairs down the line.
