Last Updated on May 7, 2023
Upgrading your RV truck, SUV, car, or Jeep with a lift is something that can give you an additional boost of confidence behind the wheel, provided you do it properly. You should also consider whether you need a new track bar with a 2 inch suspension lift.
Stock track bars will not be able to handle the increased stress if your vehicle is taller than two inches due to a lift. Experts recommend investing in a better track bar to ensure you drive safely and enjoy smooth handling. But how do you install a track bar?
Start with two wrenches and two sockets, then add an adjustable wrench. Use a torque wrench to tighten all bolts securely after removing the old track bar. Install the new track bar by remembering those reference marks. Check everything is aligned before you drive the vehicle.
Let’s check out our guide to installing a track bar with a 2 inch suspension lift.
How Do You Install a New Track Bar with a 2 Inch Suspension Lift: Easy Steps
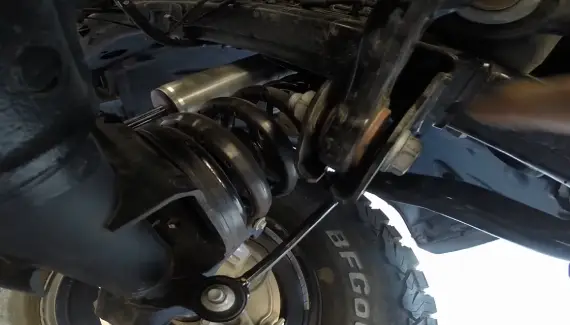
Installing a new track bar with a 2 inch suspension lift is no small task and requires some prior knowledge and experience with mechanical assembly. Luckily, the step-by-step instructions are easy to follow, even for those without a lot of mechanical know-how.
Step 01: Gather the Necessary Tools and Equipment
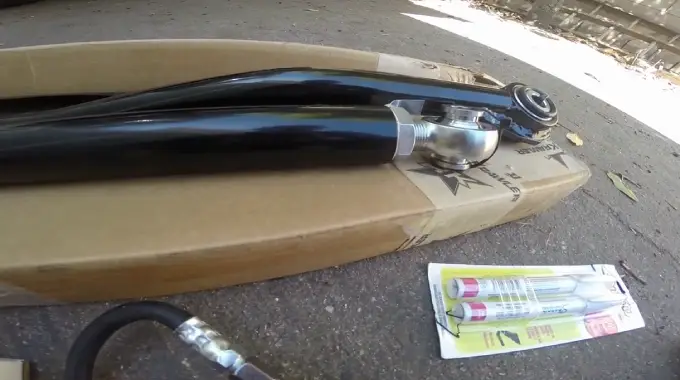
When installing a new track bar with a 2 inch suspension lift, gathering all the necessary tools and equipment is important. This includes a track bar, track bar relocation bracket (if necessary), a wrench set, socket set, torque wrench, a 2 post lift and jack stands.
All of these components are essential for proper installation. Make sure that you have all of the appropriate sizes of wrenches, sockets, and other hardware to complete the job.
Step 02: Raise the Vehicle
Once you have gathered all your materials, you will need to raise the vehicle up onto 2 post lift. Before beginning work on it, you must ensure that the vehicle is stable and secure.
Use the two post lift to raise the vehicle into place, ensuring that jack stands securely support all four corners before proceeding further.
Step 03: Remove the Old Track Bar
Now that your vehicle is safely off the ground, you can begin removing your old track bar from its mounting position. Depending on your specific model, a combination of wrenches and sockets in several different sizes may be required, so make sure you have them all handy before starting this process.
Carefully remove each bolt and nut until your old track bar is completely detached from its mounting position.
Step 04: Install the New Track Bar
With your old track bar safely removed, it is time to begin installing your new one in its place. Ensure that it is properly aligned with its mounting points and then firmly secure it using whatever bolts or nuts were provided with it.
Make sure that they are tight enough so as not to come undone while driving but not too tight as to cause any damage, either. Once installed, use a torque wrench to ensure each fastener is tightened according to manufacturer specifications for optimal performance of your new part.
Step 05: Install the Relocation Bracket (if necessary)
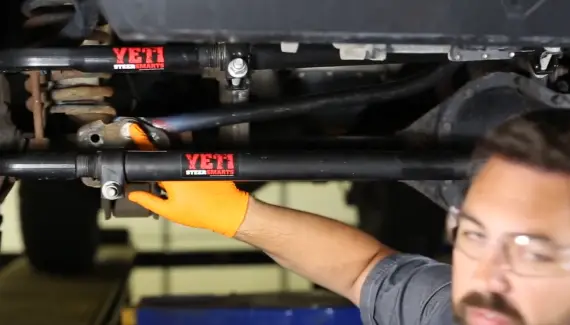
If your new track bar came with a relocation bracket for a 2 inch suspension lift kit, then now would be a good time to install it if you haven’t done so already. The same principles apply here as they do when installing any other component in terms of alignment and fastening.
Ensure everything lines up correctly before tightening anything down too much or too little, with a torque wrench again being used afterward to confirm each bolt has been secured correctly according to manufacturer specifications.
All of the bolts must be tightened correctly for proper installation. The exact amount of torque should be specified in the instructions with the track bar kit. If unsure, reference a reliable online resource or consult an experienced mechanic for assistance.
Step 06: Lower the Vehicle
Once all bolts and nuts have been securely torqued, it is time to lower the vehicle back onto the ground. To do this safely, ensure no obstacles are in front or behind the car. Then, remove the jack stands and lower the 2-post lift onto the ground.
Step 07: Check the Alignment
The next step is to check that all components of the track bar system are properly aligned with one another. Ensure none of them are twisted or bent out of shape before moving forward with installation.
Also, check that they are securely connected and properly fastened together so as not to come loose during operation.
Step 08: Test Drive the Vehicle
Once all components of your new track bar system have been checked for alignment and security, it’s time for a test drive.
Take your vehicle for a spin around town or on an empty stretch of highway and pay close attention to any unusual noises or vibrations from underneath your car. These could be signs of improper installation or misalignment within your new track bar system.
If everything seems good after driving for several miles, then congratulations. You have successfully installed your new track bar system.
What Are the Symptoms of a Bad Track Bar with a 2 Inch Suspension Lift?
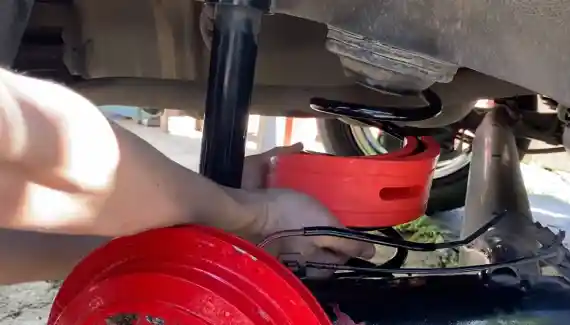
You can check for track bar problems with a 2 inch suspension lift by looking for several signs. One of the most common is vibration in the steering wheel, which can be an indication that the track bar is misaligned or damaged.
Another symptom is loose driving conditions, as a bad track bar can cause the axle to sit off-center and make it more difficult to handle. Also, noises from the front end while steering or going over bumps could indicate an issue with the track bar.
Finally, if you notice wobbling at higher speeds, this could be due to a bad track bar not providing enough stability to keep your vehicle on a straight and narrow path.
How Do You Check Your Track Bar Alignment?
Checking the alignment of your track bar after a 2-inch suspension lift is an important step to ensure that your ride is safe and comfortable.
To begin, make sure you park on a flat surface and turn off the engine. Next, measure the distance between the center of the track bar bolt and the mounting bracket bolt on both the frame side and axle side.
Compare these measurements. They should be the same for proper alignment. If they are not, adjust the track bar by loosening its bolts, adjusting it to align with the other side, then tightening them to their recommended torque.
Once adjustments have been made, check again to ensure they are even. If you are inexperienced or unsure of any part of this process, consider seeking professional help before proceeding further.
Is a Track Bar Important For a 2 Inch Suspension Lift?
A track bar is an important part of maintaining a vehicle’s suspension. It is integral in keeping the wheels aligned, providing stability, and reducing wear and tear on other suspension components.
It is especially important to install a track bar when installing a two-inch suspension lift kit or higher, as it helps reduce the effects of ‘bump steer’ and ‘steering wobble.’
Properly adjusted and maintained track bars also ensure all four wheels stay on the ground during cornering and provide extra traction while off-roading.
Is a Track Bar the Same as a Stabilizer Bar for a 2″ Suspension Lift?
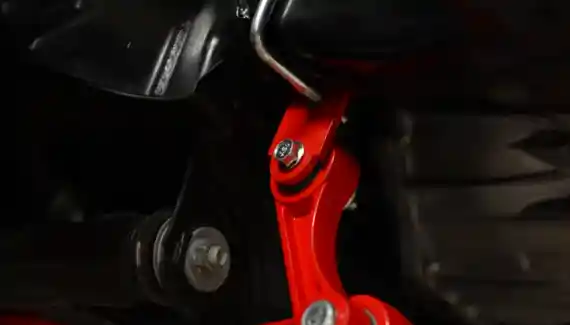
While the track bar helps to center the axle beneath the vehicle and prevent bump steer, stabilizer bars (also known as anti-sway bars or roll bars) help to keep your vehicle level while turning corners.
The stabilizer bar connects opposite wheels with the use of lever arms, increasing resistance against body roll when cornering and maintaining a balance between left and right side wheel movements.
These two components are essential to ensure proper handling and stability when driving your vehicle with a 2” suspension lift.
Lift Your Vehicle 2 Inches and Increase Safety with a New Track Bar
Installing a new track bar is essential for safe driving and improved handling performance after upgrading your vehicle with a 2 inch suspension lift. It is crucial to ensure the track bar remains parallel to the drag link to maintain its steering geometry.
Accomplishing this successfully is easy with the proper tools and equipment beforehand. Paying close attention to detail during installation will ensure better road safety while extending your upgraded vehicle’s life expectancy.
Establishing good habits such as these now can mean reliable performance and worry-free driving even further down the line.
