Last Updated on March 14, 2023
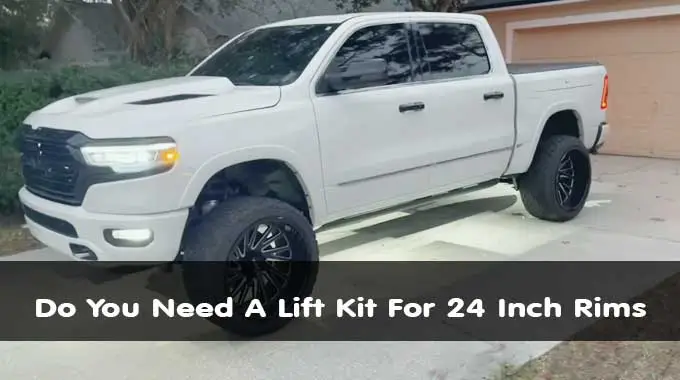
Lifting kits give vehicles that extra edge in styling, but do you need a lift kit for 24 inch rims? Well, the answer depends on several factors, from the truck or car model and weight to your driving style and tire size. These all play their part when considering lift kit installation.
With a 4-6 inch lift, 24-inch rims can provide an attractive aesthetic and additional advantages. This upgrade could take your wheels from drab to fab, from improved off-roading capabilities to substantially increased ground clearance.
This guide will discuss how quickly and easily you can upgrade with a lift kit and 24 inch rims. Plus, discover the countless benefits of outfitting your vehicle for the ultimate driving experience.
How Do You Need A Lift Kit For 24 Inch Rims: Easy Steps

Adding a lift kit to 24-inch rims is an involved process, but can provide a great look and improved performance for your vehicle. Before starting the job, it’s important to make sure you have all the tools and supplies necessary for the installation.
This includes wheel spacers, lug nuts, and other components that may come with the lift kit. Also, you’ll want to make sure you have a jack and stand for lifting the vehicle off of the ground. After gathering all of your materials, you can start following the steps:
Step 01: Determine the Lift Kit Size
In order to select the correct lift kit size for an application with 24 inch rims, you must start by determining the make and model of your vehicle. This is important as different vehicles may require different components and/or sizes that are not interchangeable between models.
Once you have identified your vehicle, you will need to determine its type of suspension, as this will affect the type of lift kit components you need. You should also take into account any additional needs, such as towing/hauling capacity requirements or tire size availability, when selecting a lift kit size.
Step 02: Purchasing Lift Kit Components
Once you have determined the lift kit size appropriate for your 24 inch rim application, you will need to purchase the necessary components. This usually involves purchasing basic components such as springs and shocks, as well as spacers or shims, if needed to lift the vehicle properly.
Other items, such as control arms or steering stabilizers, may also be necessary depending on how much lift is required. It is important to purchase components specific to your vehicle’s make and model to ensure compatibility.
Step 03: Prepare the Vehicle for Installation
Before you start to install a lift kit on a vehicle with 24 inch rims, it is important to prepare. This means you must disconnect the battery and securely jack up the vehicle. This will help avoid any potential injury from falls or sudden movements while working underneath it.
Once these steps have been taken, you can then remove the wheels and tires from the vehicle in preparation for installing the new components.
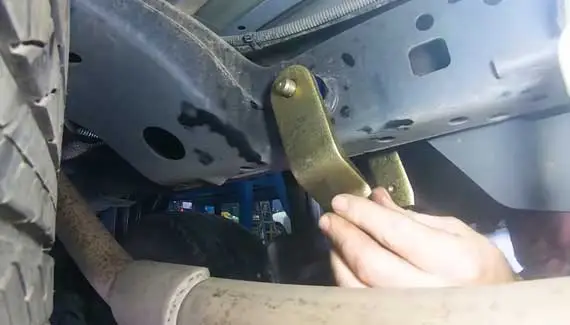
Step 04: Install the Lift Kit

It is imperative to read any and all instructions provided by the manufacturer of the lift kit carefully, as improper installation can cause serious damage and injuries.
When installing springs, they must be installed exactly as instructed. Springs should be secured with U-bolts and Nyloc nuts, ensuring all hardware is in place and tightened security to ensure that the springs are secure during use.
All bushings, pins, and other hardware must be in place before tightening the hardware. Remember that you must keep the coil overs compressed while you are mounting them onto the frame. If they become unaligned, it could cause problems with the performance of your car later on.
Step 05: Replace the Shocks and Struts
Generally speaking, you will need longer shocks than what is typically found on most vehicles. Measurements should be taken from the vehicle’s existing shock absorber mounting locations before ordering any new parts or components.
The next step is to unmount both old and new shocks and struts with a special wrench or tool, making sure not to damage any threads while doing so.
New shocks should then be mounted onto the vehicle using an adjustable or torque wrench, depending on the type of bolts used. Once everything is reattached, make sure that it was torqued down correctly using a torque wrench.
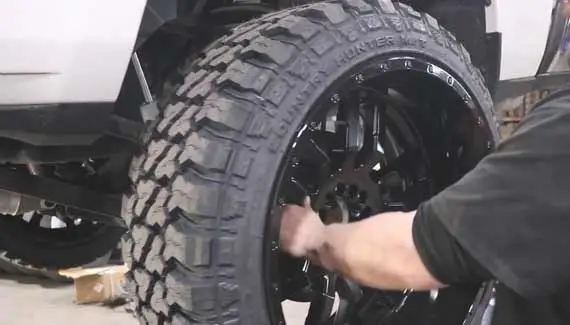
Step 06: Install Wheels

Start by ensuring that the wheels fit properly onto your vehicle’s lug pattern by measuring out both sides of each wheel hub-to-hub before installing them onto your car or truck.
Ensure all lug nuts are tight enough not to cause any wobbling or rattling, but not too tight, as this could cause damage over time due to tension stress in excess of their intended design load limit.
After installation, ensure all lug nuts are tightened securely according to manufacturer specifications for maximum strength capabilities within the design limits of your vehicle’s suspension setup.
Step 07: Check the Alignment
When you add bigger wheels like 24 inch rims, you need to do an alignment check. This is because the lift kit system may need different toe adjustments depending on the type of tire size and make.
Professional alignment shops know how much adjustment needs to be made based on the manufacturer’s specs. It’s important that they get all the information about your vehicle before making any adjustments so that it can be done quickly without any extra time wasted.
Step 08: Test Drive
It’s really important to take your car for a test drive after installing the lift kits. This test drive will help ensure that everything is working properly and that there are no issues with the ride over uneven surfaces.
You should also check twice during the test drive for any extra noises coming from the suspension, just in case something was missed during the installation.
Make sure to check the wheel torques after driving about 50 miles so that everything has had a chance to settle into place. Doing this before taking your car out on the roads will help you avoid big repair costs down the road.
What Are the Benefits of Putting Lift Kits on 24 Inch Rims?
i) One of the most common benefits of lifting 24 inch rims is improved off-road performance. By lifting the vehicle slightly, the rims give more clearance between the ground and the undercarriage, which allows for better maneuverability when navigating rough terrain.
Also this increased clearance results in less risk of bottoming out due to obstacles in the road or uneven surfaces.
ii) Another benefit to 24 inch rims with lift kits is better handling. By increasing the distance between the wheelbase and the center of gravity, vehicles with lift kits have greater stability when cornering at speed or navigating bumpy roads.
This improved handling can help drivers feel more comfortable and confident when driving off-road or even on regular pavement.
iii) In addition to better performance and handling, lift kits on 24 inch rims can also provide aesthetic benefits for those looking for a more rugged look for their vehicle.
The larger tires provide a distinct presence that can set a car apart from its competitors and add visual appeal to any four-wheeled machine. People who want their cars to stand out from other vehicles in parking lots or on the street also find lift kits attractive because of the aggressive stance they provide.
iv) Besides improving off-road ability or providing an outlet for individual expression, lift kits on 24-inch wheels can also save you money over time.
While bigger tires mean lower fuel economy, they also use less energy overall because they have a bigger diameter and contact patch with the road. When you drive long distances or go far from home a lot, you can cut costs.

What Size Tires Do I Need For Lifted 24 Inch Rims?
When it comes to choosing the right size tires for lifted 24-inch rims, there is no one-size-fits-all answer. The type of tire you need should be based on your individual driving preference, as well as the vehicle’s make and model.
Generally speaking, the most common sizes are typically 255/30, 285/40, 355/25, and 285/30. But, depending on your specific needs and preferences, you may also want to consider 295/30 or 305/30.
A tire with a lower profile (such as 255/30) will provide more stability at higher speeds, while a larger tire (such as 355/25) can offer additional traction and grip while cornering.
If you are looking for a more comfortable ride with better handling than a larger tire provides, then the lower profile sizes may be your best choice. On the other hand, if you prioritize comfort over performance, then a larger tire may give you the best results.
How Big Of a Lift Kit on F250 for 20″ Rims?
When considering the size of a lift kit for a Ford F250 with 20-inch rims, you should consider several factors. The height of the desired lift and the type of terrain you plan to drive on are key elements in determining what size lift kit will be suitable.
If you are planning to take your truck off-road, you should consider a 6-inch suspension lift kit as this will provide more clearance and stability in off-road conditions. For road use only, however, an 8-inch suspension lift would be preferable. This will provide more ground clearance while still allowing for ease of turning and better handling at highway speeds.
It’s also important to remember that no matter what size lift is chosen, it must be properly installed by a professional mechanic. Improperly installed lifts can lead to a number of steering, braking, and overall performance issues if not done correctly.
Get Ready for the Open Road with a Lift Kit and 24-Inch Rims
Give your car the ultimate boost with a lift kit. It’s an essential upgrade for 24 inch rims. Ensure smoother handling and riding, plus improve performance and safety on the open roads.
But knowing what size lift you require is crucial and should depend on several factors such as vehicle model, weight, tire size, and driving style. It’s also essential to pick appropriately sized tires accordingly to sustain optimal results. Following these tips guarantees you will get the safest and most enjoyable driving experience with 24 inch rims and a lift kit installed.
